Samsung Galaxy Z Fold Screen Repair: Is It Safe or Risky?
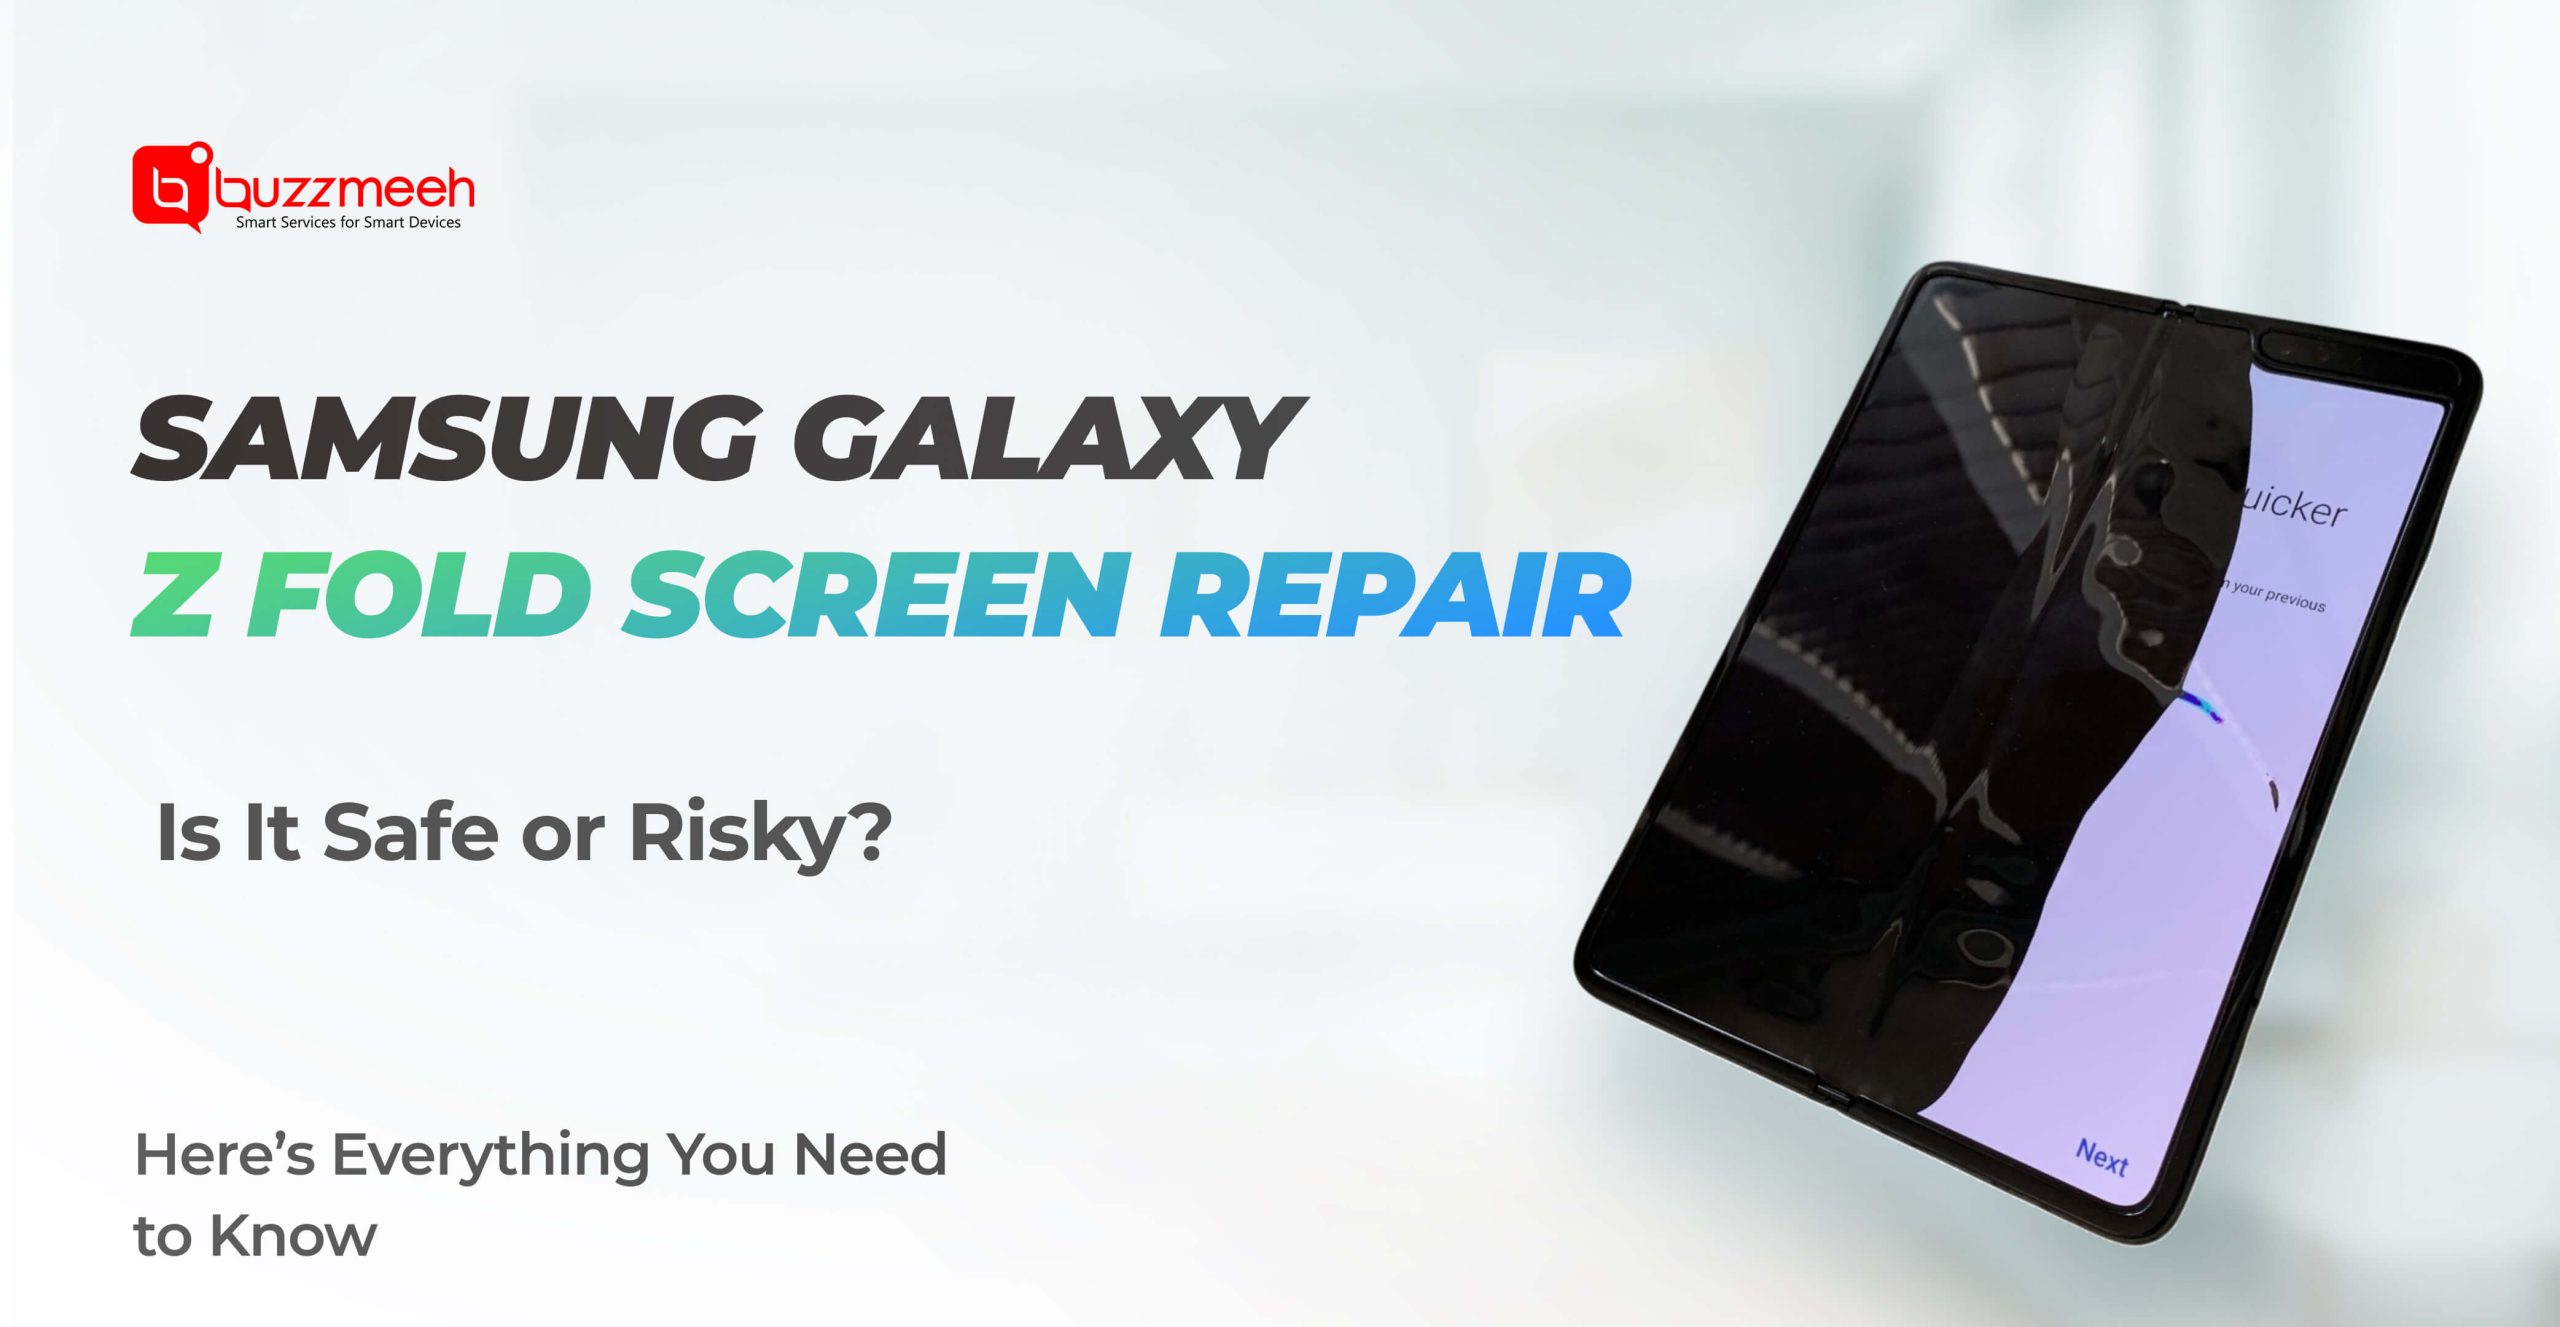
Foldable smartphones have redefined what a mobile device can do, and Samsung’s Galaxy Z Fold series sits at the top of this innovation curve. With its large, flexible inner display…
Foldable smartphones have redefined what a mobile device can do, and Samsung’s Galaxy Z Fold series sits at the top of this innovation curve. With its large, flexible inner display…
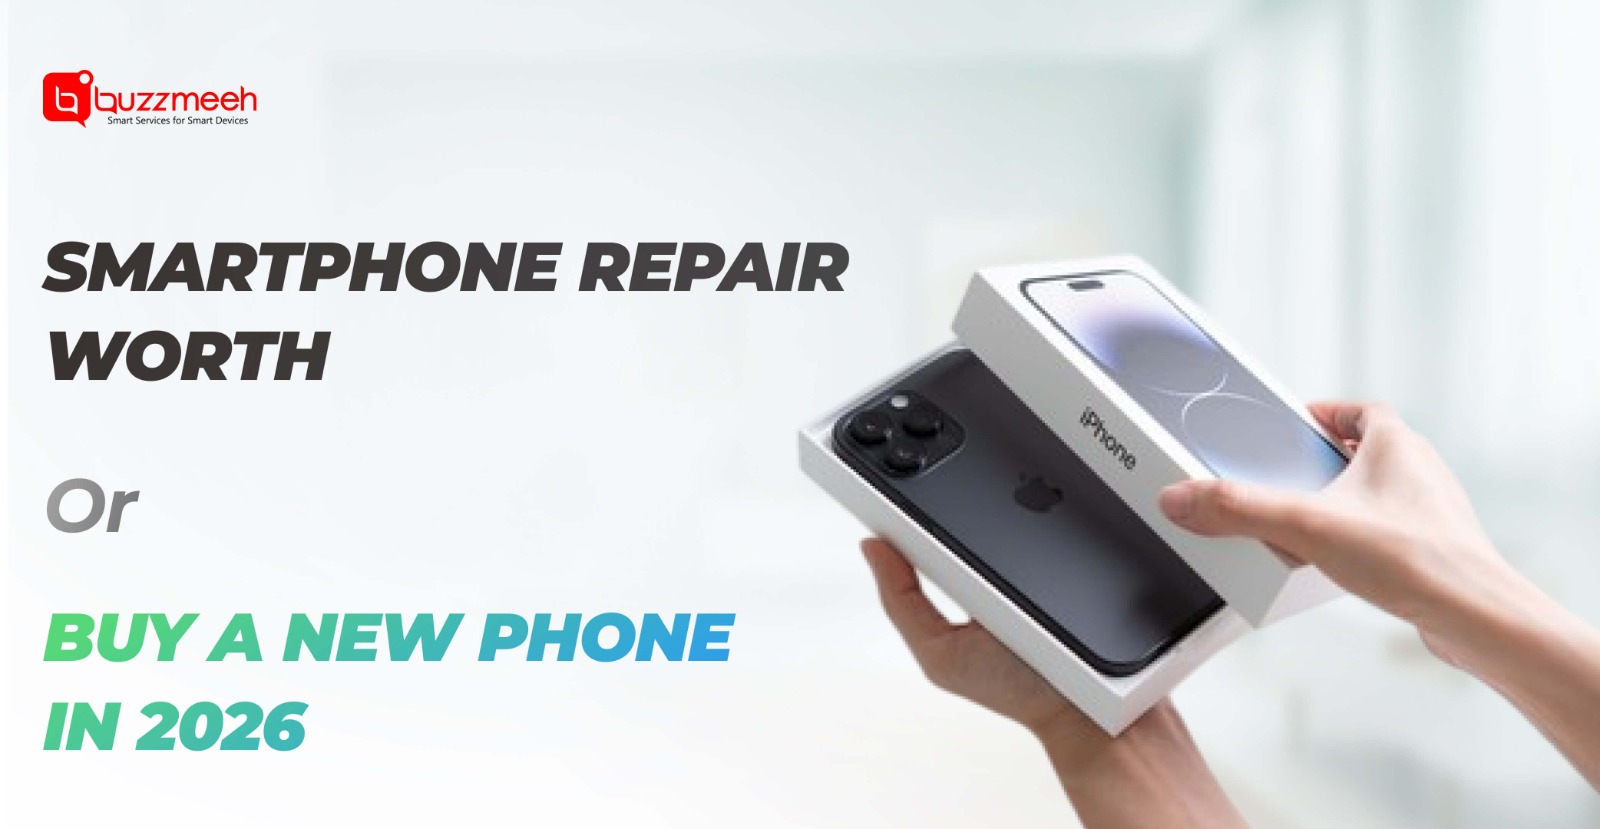
Smartphones in 2026 are more powerful, expensive, and complex than ever before. When a phone gets damaged—whether the screen cracks, the battery drains fast, or the device stops turning on—the…
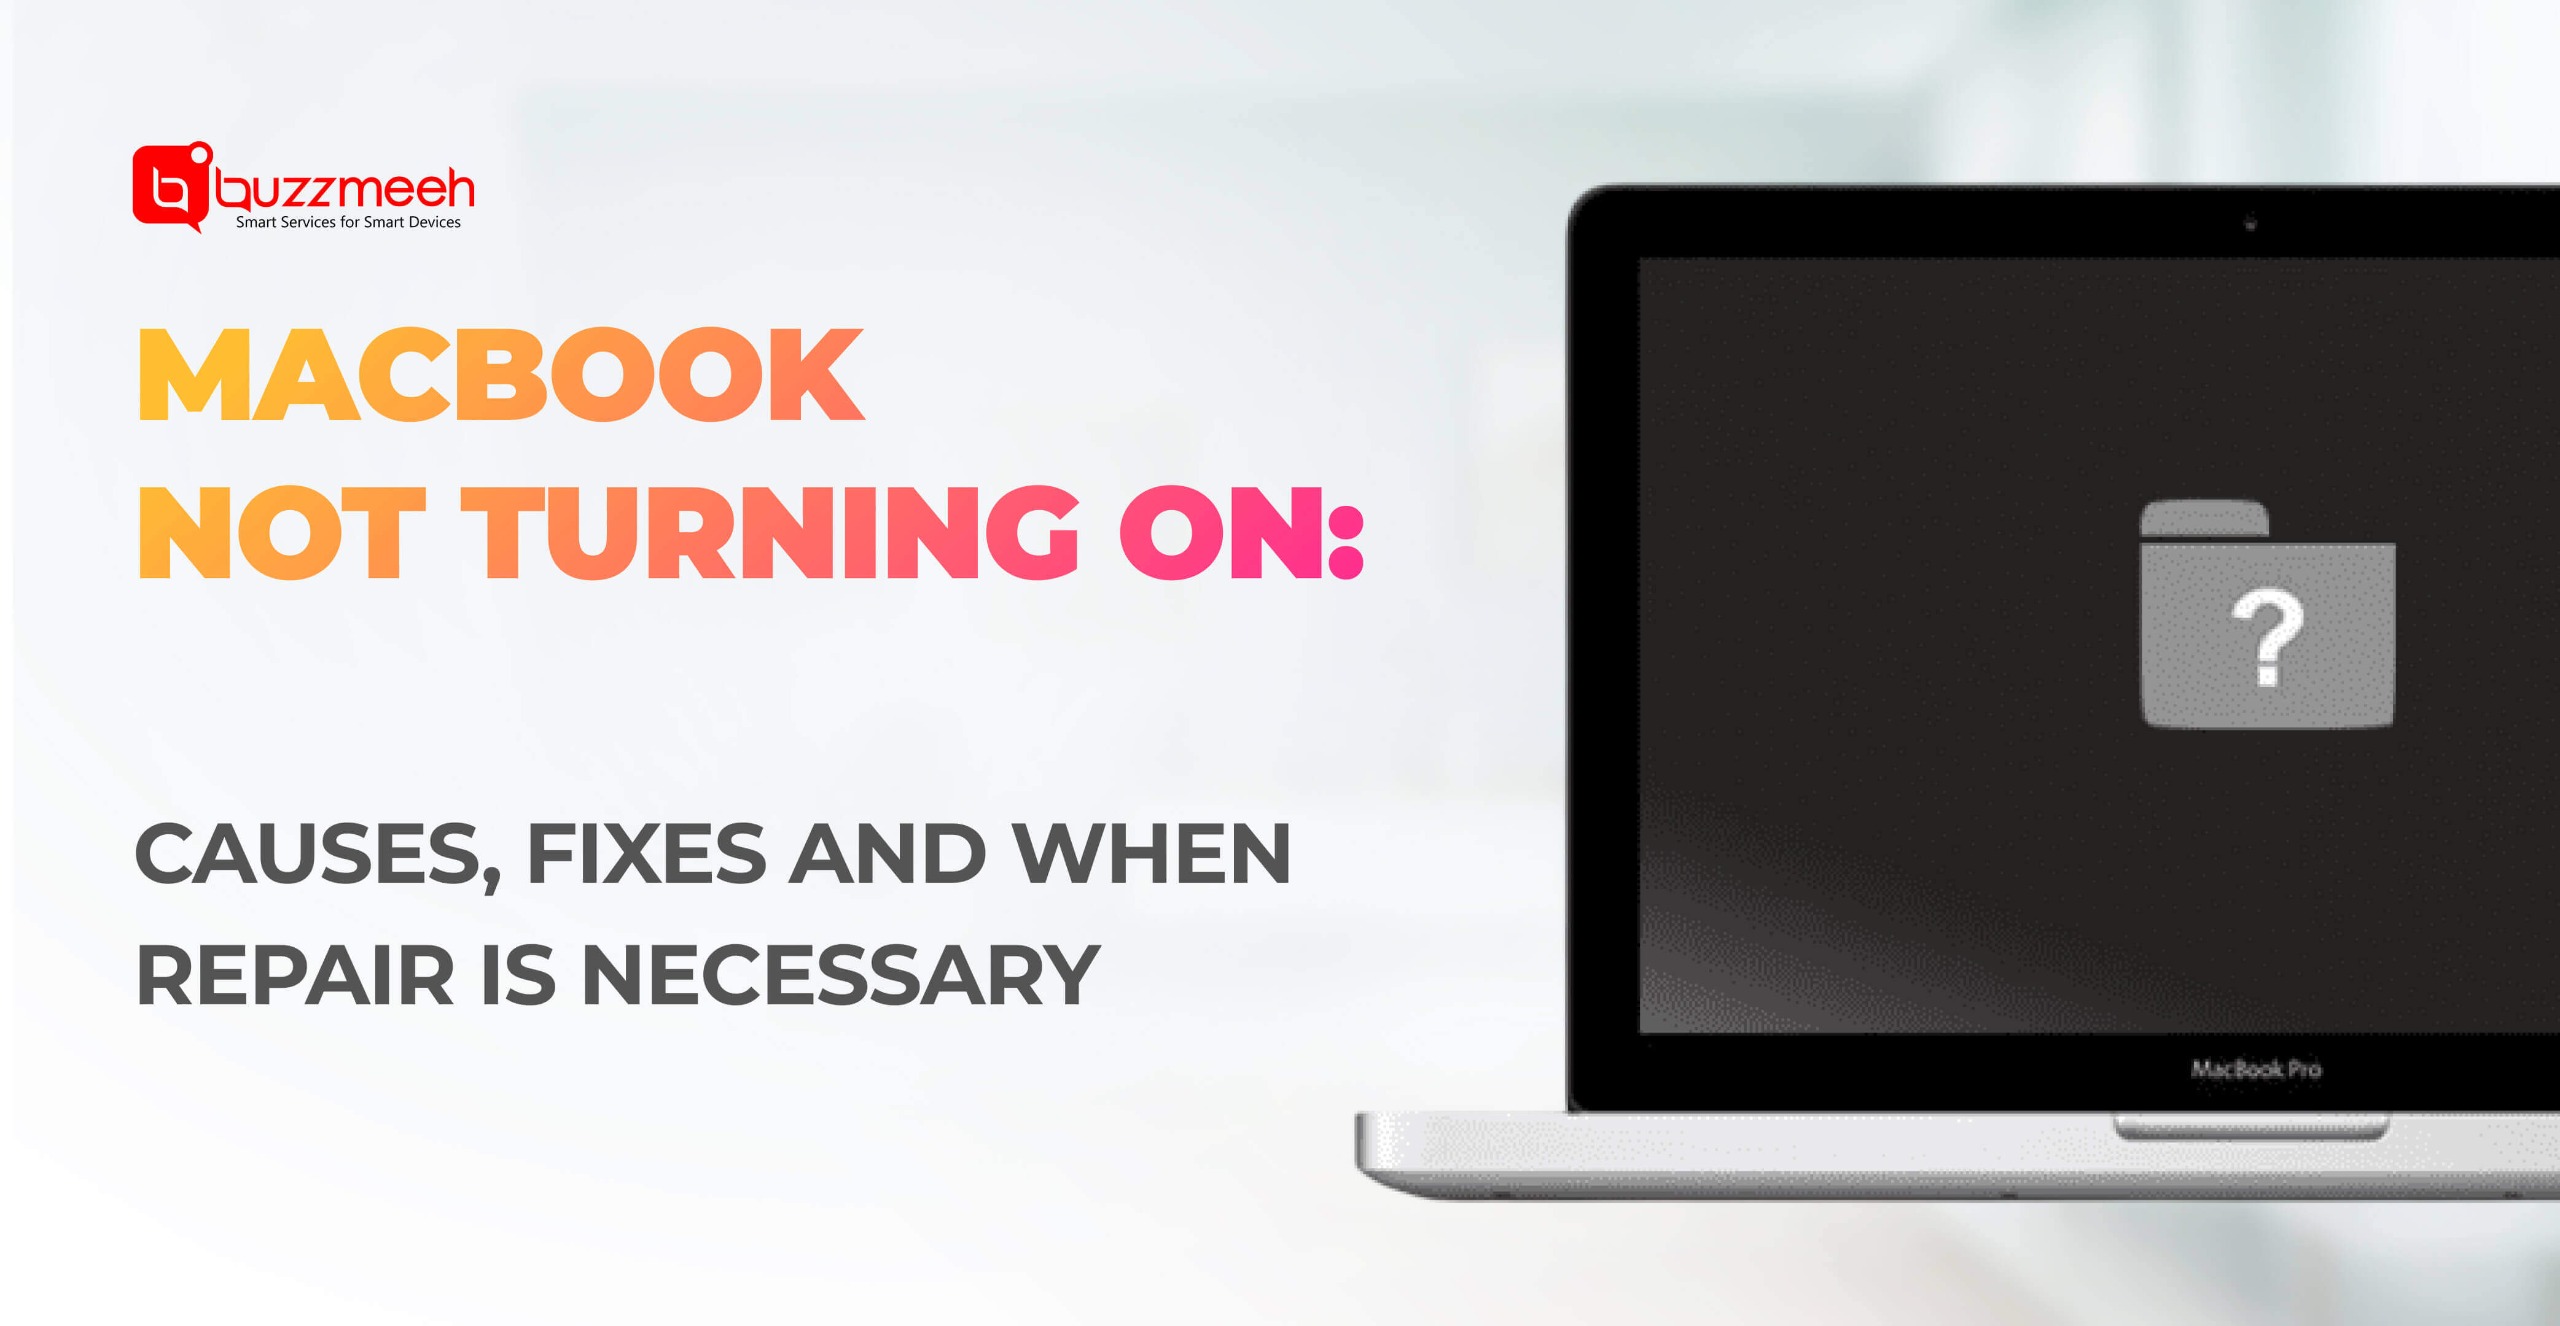
A MacBook that refuses to turn on can instantly disrupt your work, studies, or business. You press the power button, but nothing happens; no sound, no Apple logo, no screen…
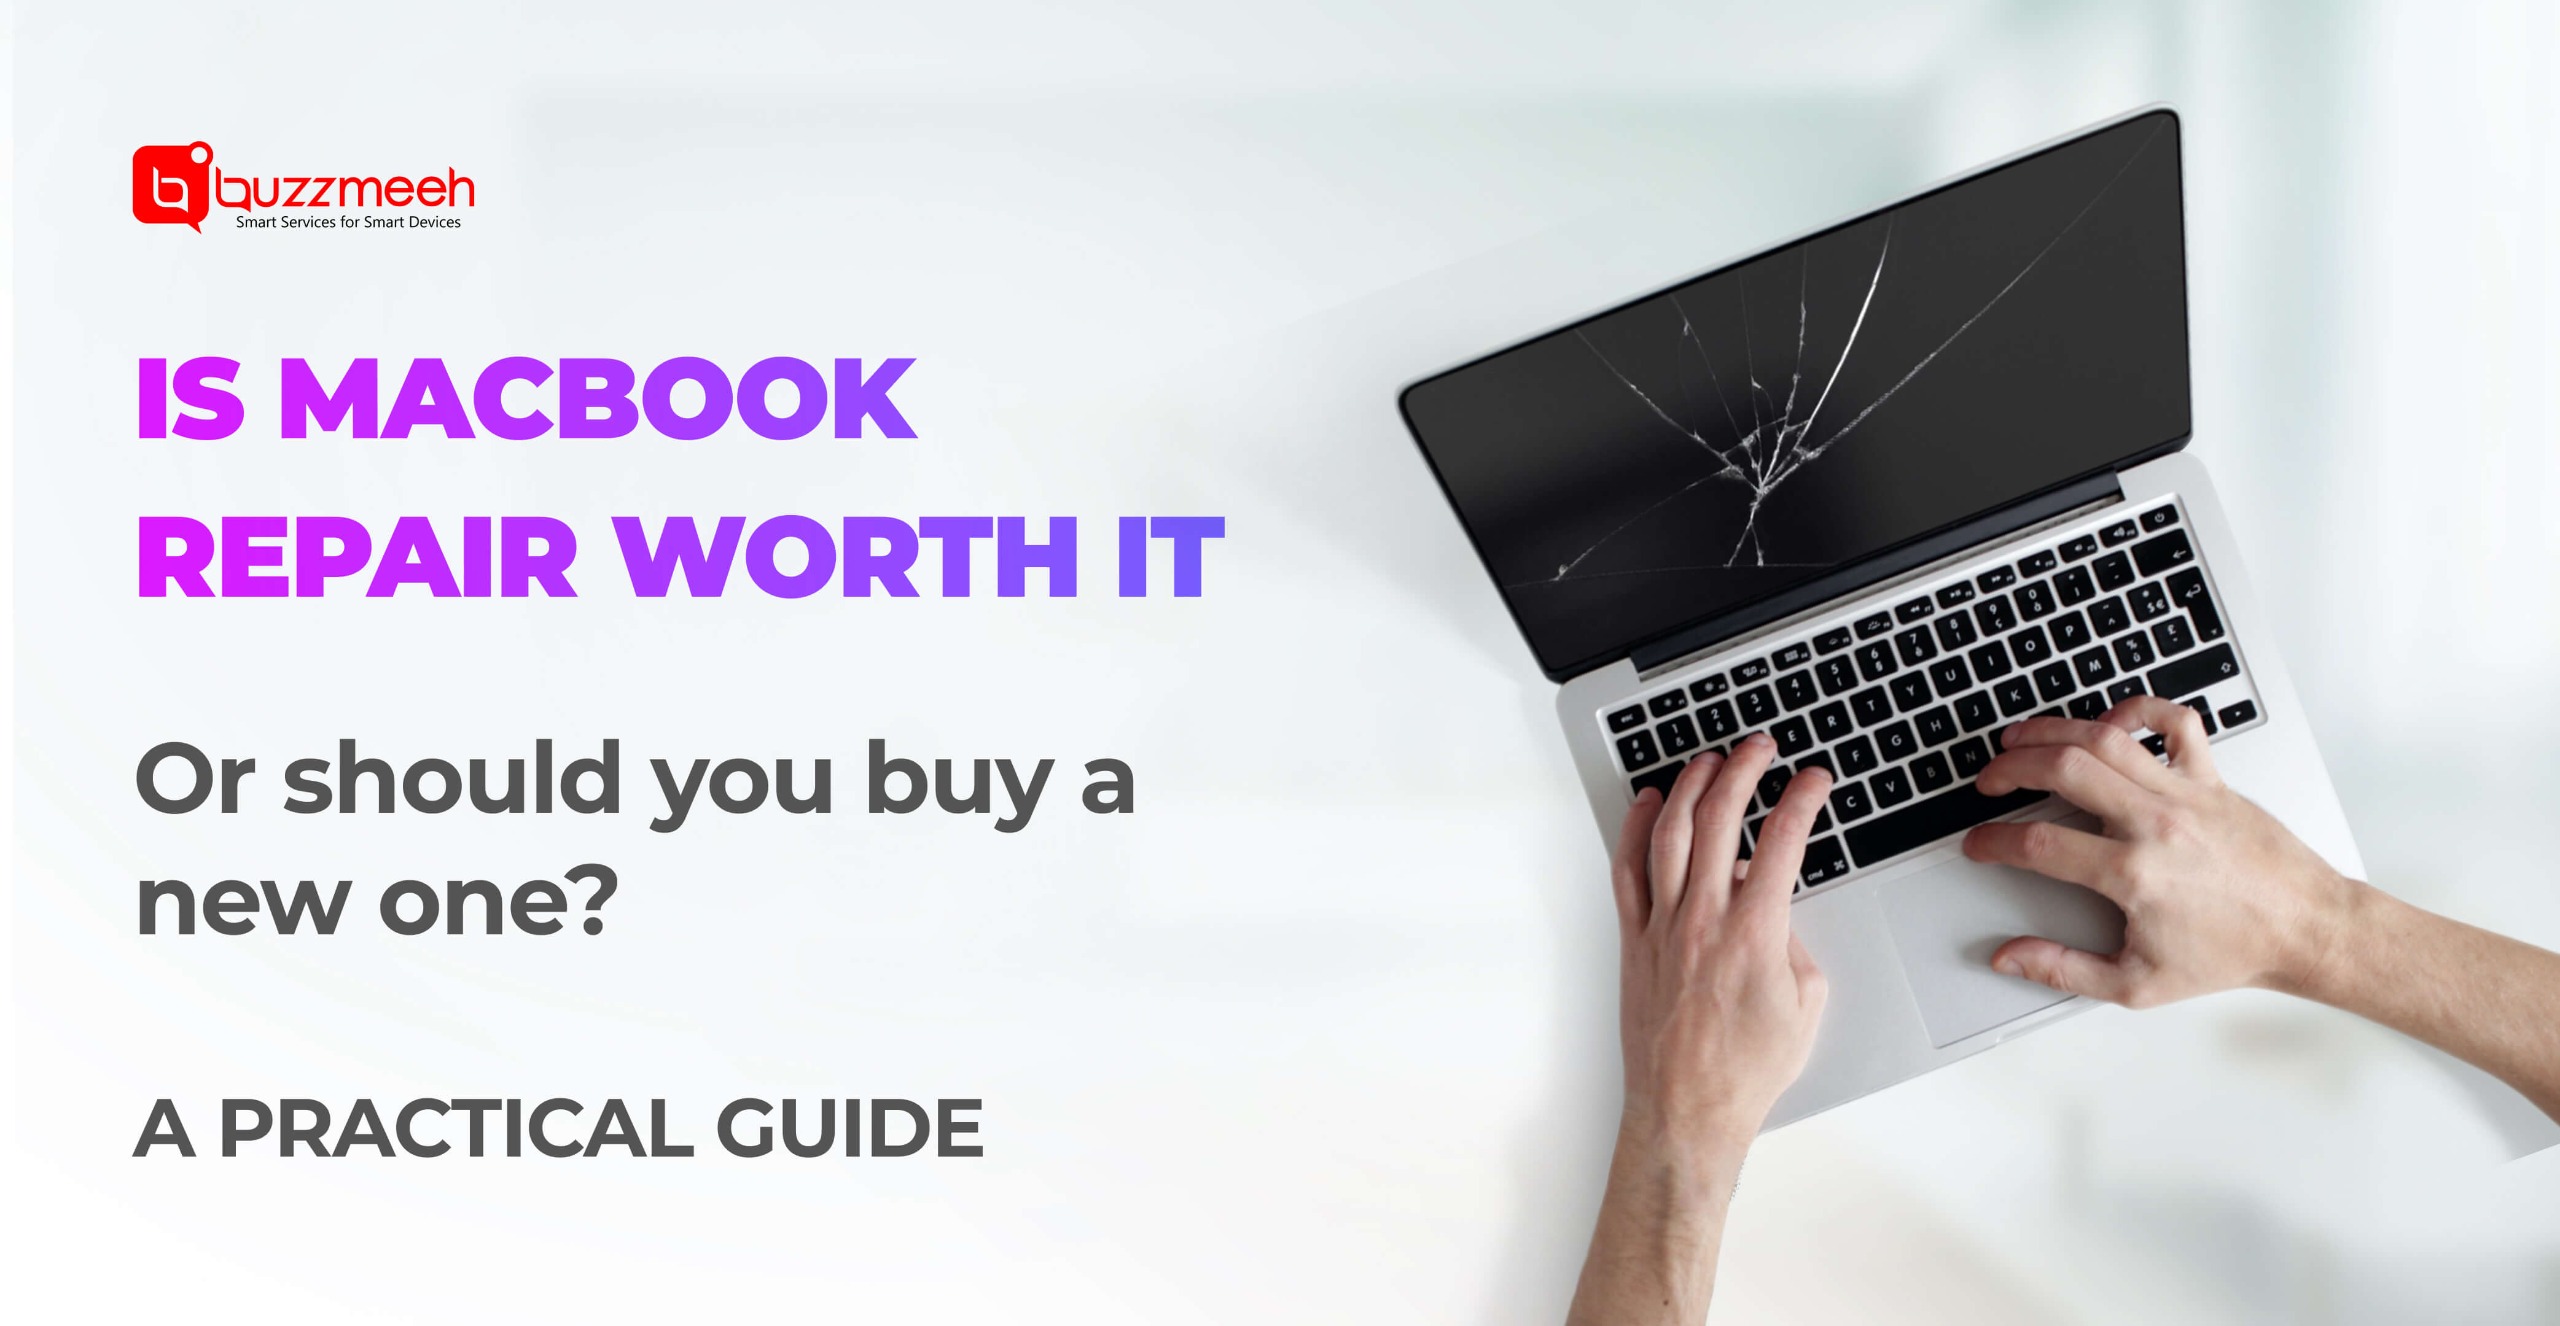
If your MacBook has stopped working properly-whether it won’t turn on, the screen is broken, or the battery drains too fast-the first question that comes to mind is simple but…
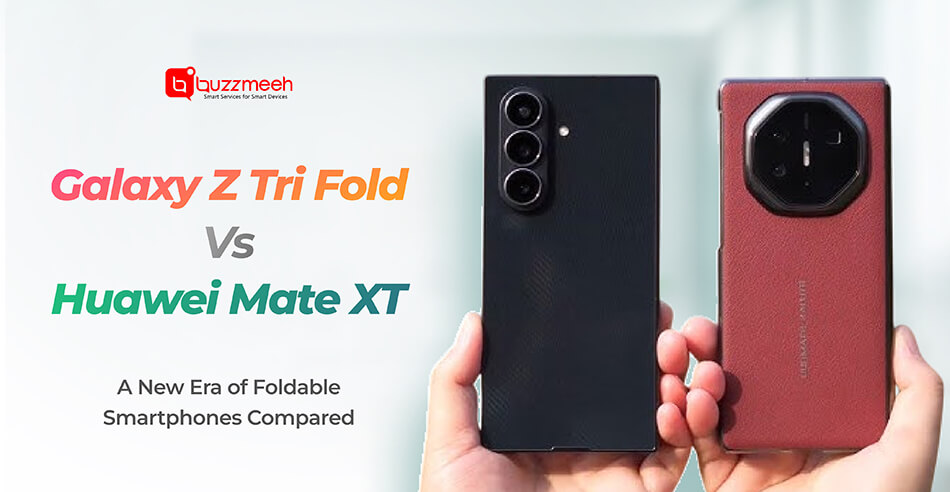
Foldable smartphones are no longer experimental gadgets they are steadily shaping the future of premium mobile devices. With brands pushing boundaries beyond traditional foldables, multi-fold designs are now taking center…
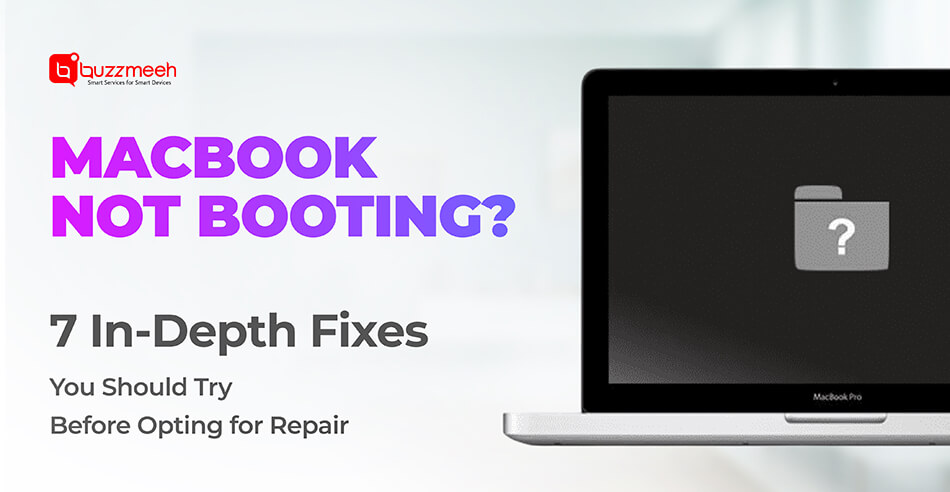
A MacBook that refuses to boot can be alarming, especially when your work, data, or important deadlines depend on it. Whether your Mac is stuck on the Apple logo, showing…
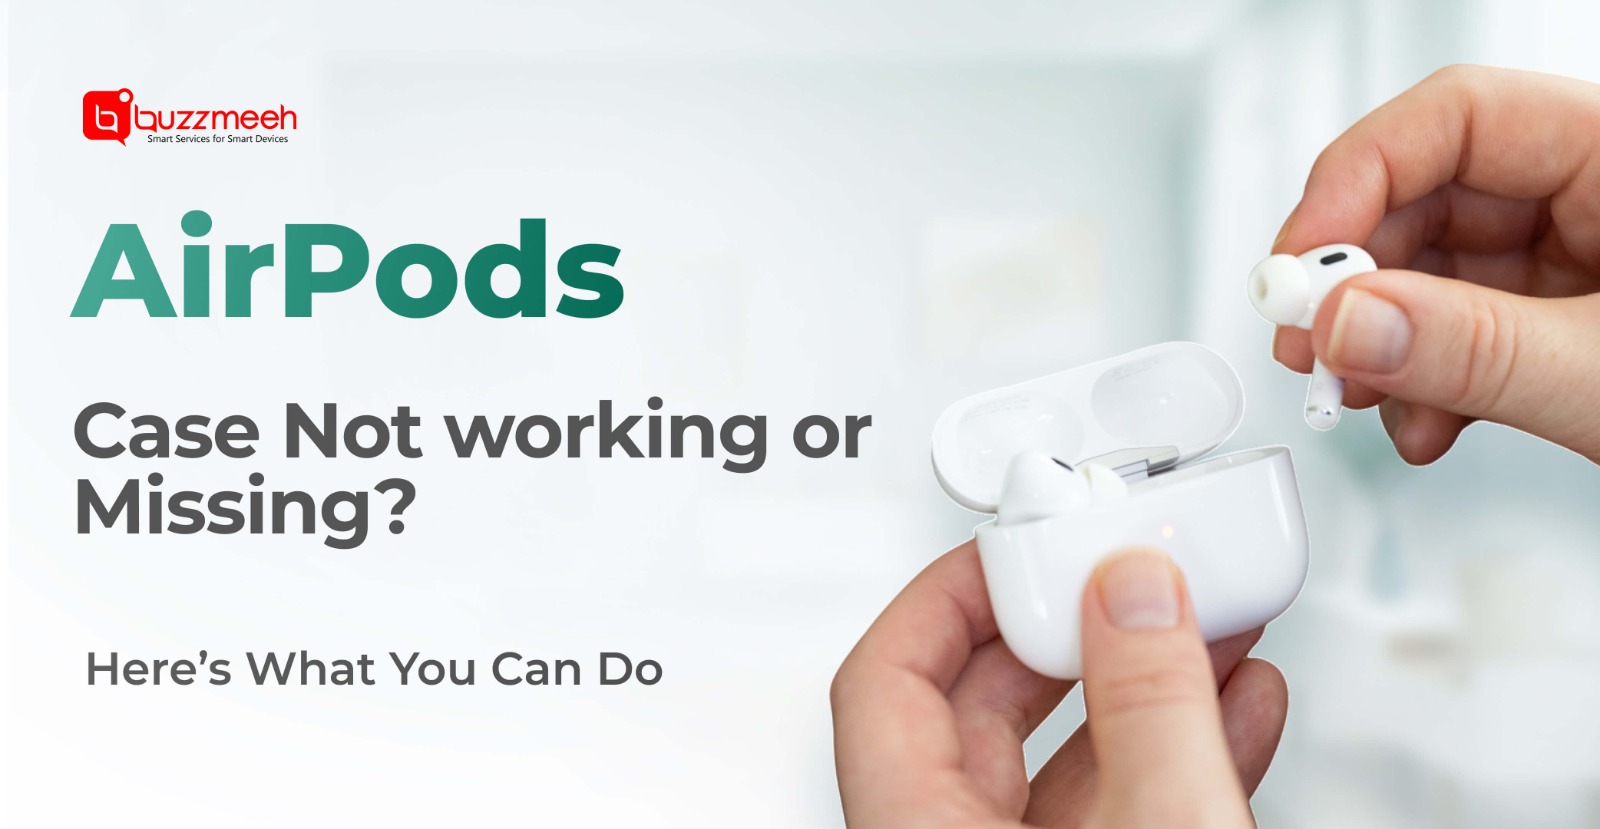
Your AirPods charging case is just as important as the earbuds themselves. If the case stops working or goes missing entirely-your AirPods become unusable even if both earbuds are fine.…
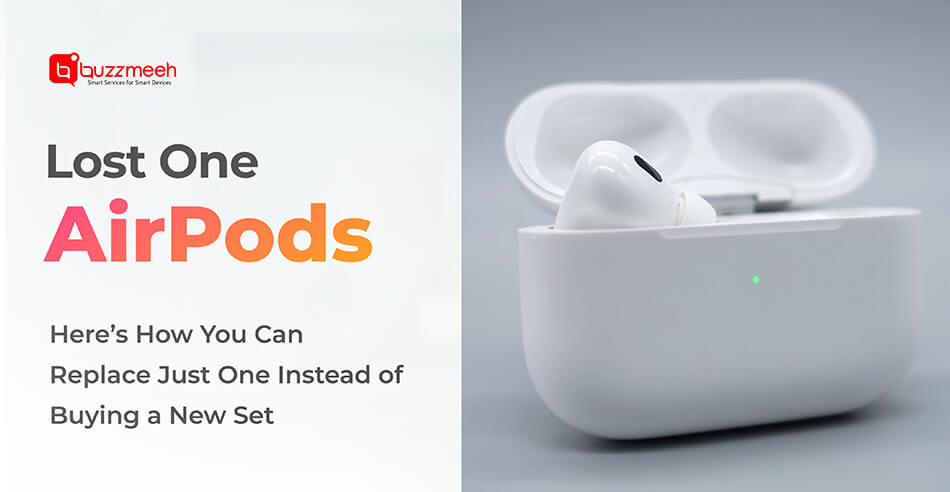
Losing one AirPod is more common than you think. Whether it slipped out while commuting, fell between sofa cushions, or simply vanished during travel, many users panic thinking they’ll need…
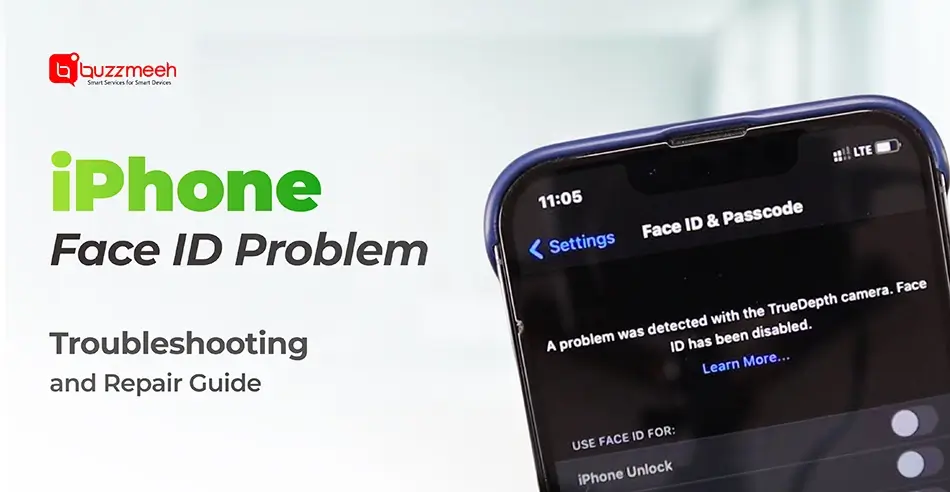
Face ID is one of the most advanced and secure features of an iPhone. It unlocks your device, authenticates payments, signs you into apps, and makes the entire experience seamless.…
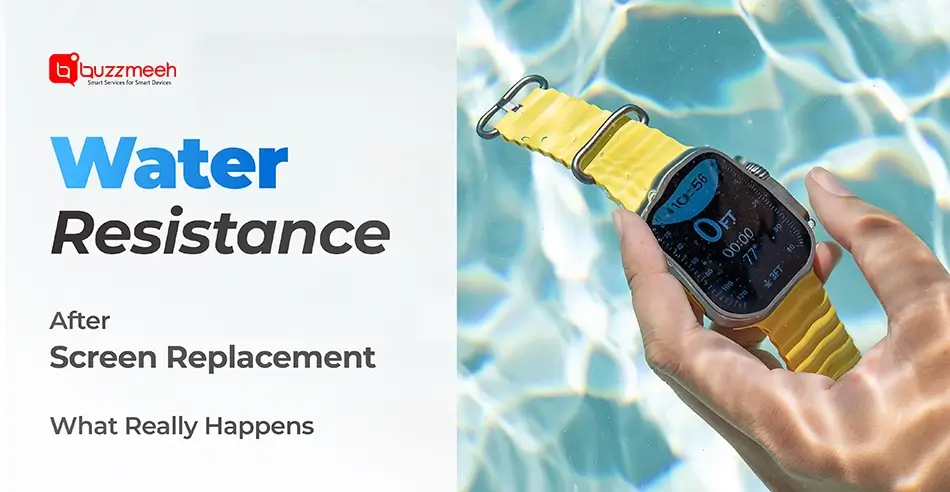
The Apple Watch has become an essential everyday companion – helping you track fitness, manage notifications, handle calls, and stay connected on the go. But when the screen cracks or…
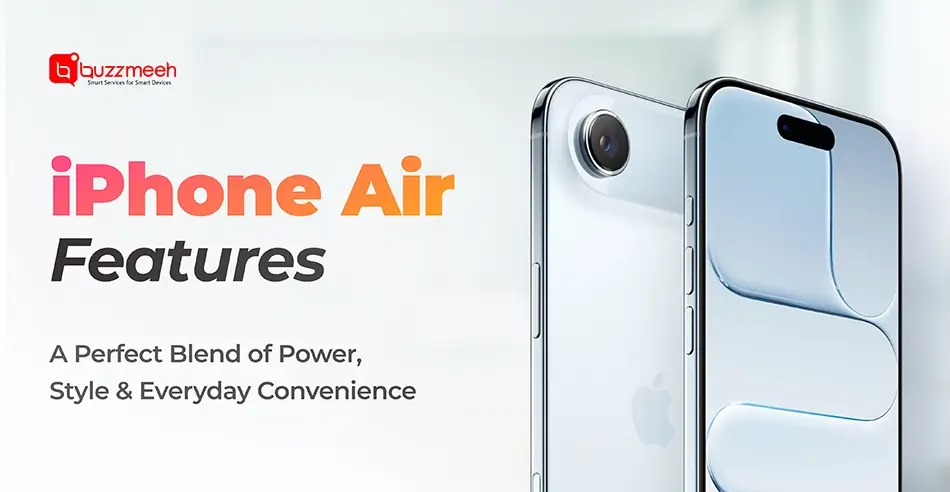
Apple has always been at the forefront of innovation, and with the introduction of the iPhone Air, the brand has once again pushed the boundaries of design and performance. Sleek,…
The Google Pixel 9 Pro Fold is one of the most advanced foldable smartphones available today-sleek design, stunning display, and powerful software integration. But with innovation comes complexity, and the…